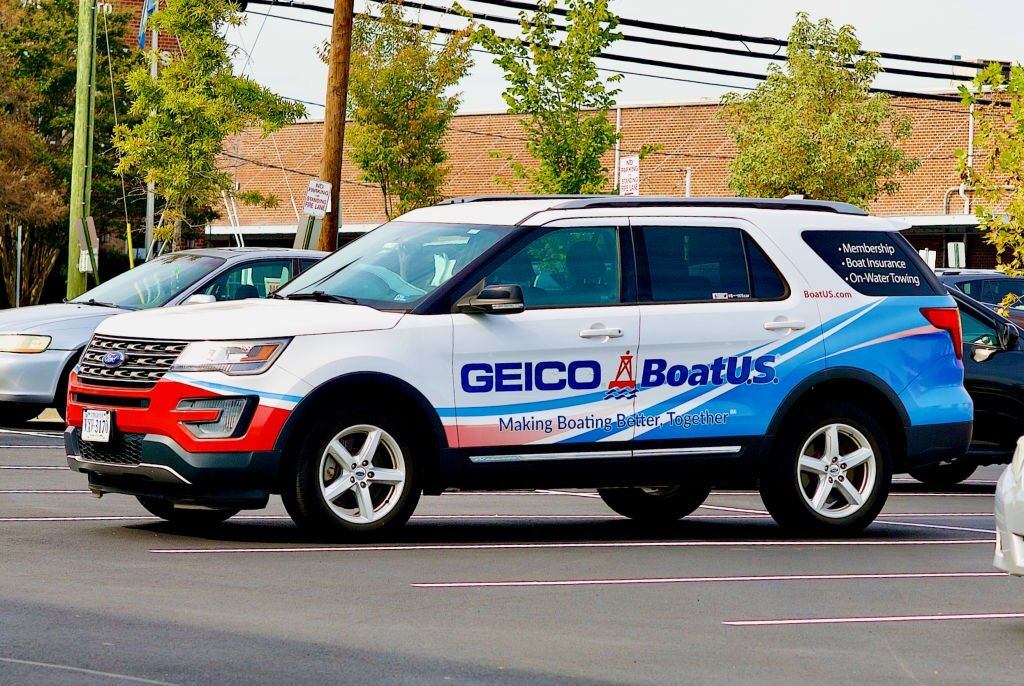
Vinyl adhesive wraps are becoming increasingly popular for a good reason: to protect and preserve your car’s paint while adding a unique, eye-catching look. However, precise measurements are also vital before getting creative with designs.
Fortunately, measuring a vehicle wrap isn’t overly complicated. This article will walk you through the wrapping process for car wraps so you get your first sheets to a great start.

Prepare Vehicle and Gather Tools for Vinyl Wrapping
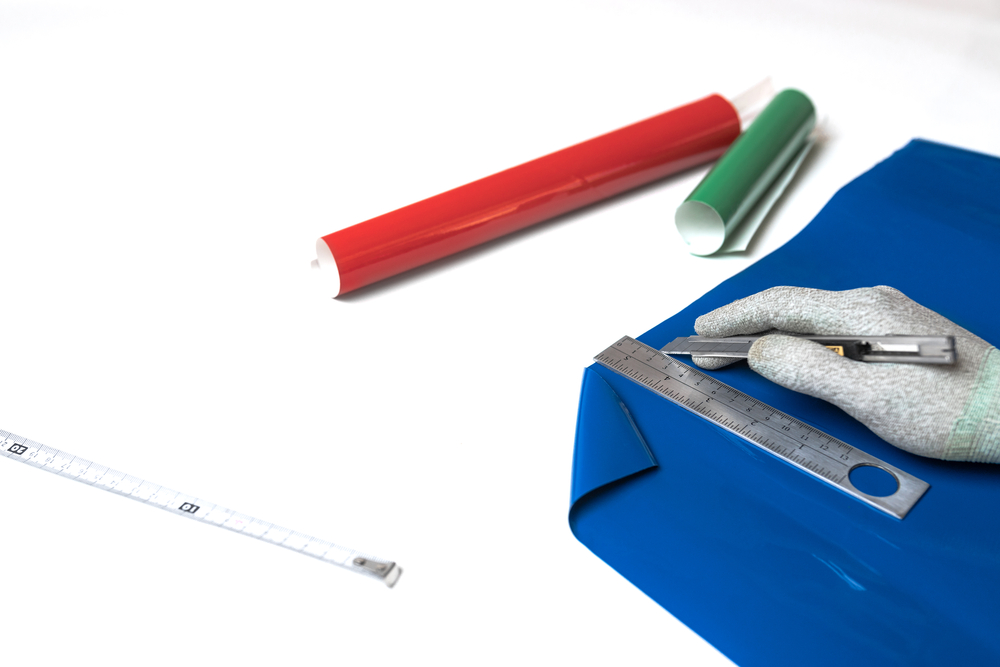
Before you decide to tackle a vinyl project, it’s important to remember that preparation is key. Measure twice, wrap once! Ensure you have all the measurements and materials before starting.
To begin, ensure your vehicle is ready for its transformation—it needs to be as clean as possible. Start by washing the car and removing any waxing or previous vinyl polish wrap slowly with the heat gun. Then use a detergent for car exteriors, such as some isopropyl alcohol. Make sure the surface of your car is dry before beginning any measuring.
Now it’s time to gather all the tools and materials you need for a cut-down process, and this includes:
- Masking tape
- Cutting tape
- Wax remover
- Dry erase marker
- Tape measure
- Easily rolled vinyl wrapping film
- Backing paper
- Core tube
- Other extra material
Calculate How Much Material Required for Installation
Now that you have your supplies, it’s time to mark the surface area of your vehicle that you want to cover with a vinyl wrap. Here are some spots to regard for the finest outcomes and simple installation:
1. Hood
Also called bleed, this material pulls vinyl film safely during installation. When accomplishing this, measure the length and height of your car’s hood, then add three inches to each side. Simply shift to the fender area and apply the same three-inch extra bleed to your sides as you did to your hoods. Fenders are less than 30 inches tall, so one yard of solid colors can create two panels.
2. Driver and Passenger Sides
It would be practical to always stick to the back fender for the driver side and passenger side. Rather than adding an extra three inches wide of bleed, aim for more inches and create a mark at this point. For full coverage, gage from this mark up to the edge of the back fender.
With bumpers, steer clear of measuring from the front bumper. Begin at the middle part of the back bumper and measure outwards. Include extra inches for bleed and double that measurement for full width. If it’s 30 inches or less material like the front fender, then it can be covered.
3. Side Main Panel
Always take a minute to review your vehicle side panels before measuring them for a vinyl wrap. Guaranteeing these sides are flat and free of dents or scratches can deeply influence your wrap’s appearance.
Once you complete this phase, you can get precise proportions for your car. Here are some tips that will help:
- Mark directly both wheel and back bumpers’ space
- Leave two to three inches of bleed on the front fenders
- In each panel’s upper section, trace the body line
- The rocker panel area should be elevated
- Keep your whole panel from shifting while cutting it out
4. Doors
Before cutting, mark off any excess material above the doors using a marker. Occasionally, use some extra pieces to design a spoiler or the top part of a hatchback. Now, secure the front door panel and roll up the back panel before you start wrapping!
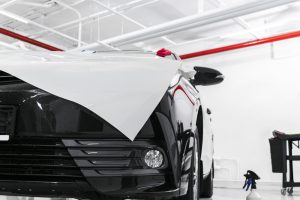
Secure Vinyl Wraps and Wrap Them Up
Now that you’ve calculated how much vinyl your car demands, it’s time to commence the final tip. To begin with, securely attach each piece of vinyl wrap to the corresponding panel, beginning in one corner and working your course around slowly. Note that each liner side should be properly pressed down as you go.
Additionally, gradually stretch each piece of vinyl towards every edge to avoid any wrinkles. This will guarantee a smooth surface finish with nothing entrapped underneath after post-heating.
When you securely wrap your car, step back and admire your work!